DIY Halfway to One Donut Photoshoot at Home

One of the cutest trends to hop on lately if you have a newborn is the “halfway to one” celebrations. Typically themed around their “six months” out in the world, it’s an adorable practice that creates a memorable activity and photos for mamas! This is why we – of course – decided to do a DIY halfway-to-one donut photoshoot at home.
Luckily, it was easy to do and ended with a delicious snack for us and her! But, if you’re not ready to let your little one have a taste of something so sweet, opt for a different or even homemade donut rather than store-bought.
While the donuts we from the local Krispy Kreme, everything else was pretty easy to put together!
Please Note: This post may contain affiliate links, meaning if you shop via our links I may earn a small percentage at no extra cost to you. All products/recommendations are based on my own personal opinions.
What You Need for Your Halfway to One Donut Photoshoot
For the most part, we already had everything we needed at home! The good part about the half-a-dozen birthday theme is that you can get creative and do whatever you want color-wise. You can even go for the seasonal donuts and have your photos holiday-themed!
But, to write down the basics, you’ll need:
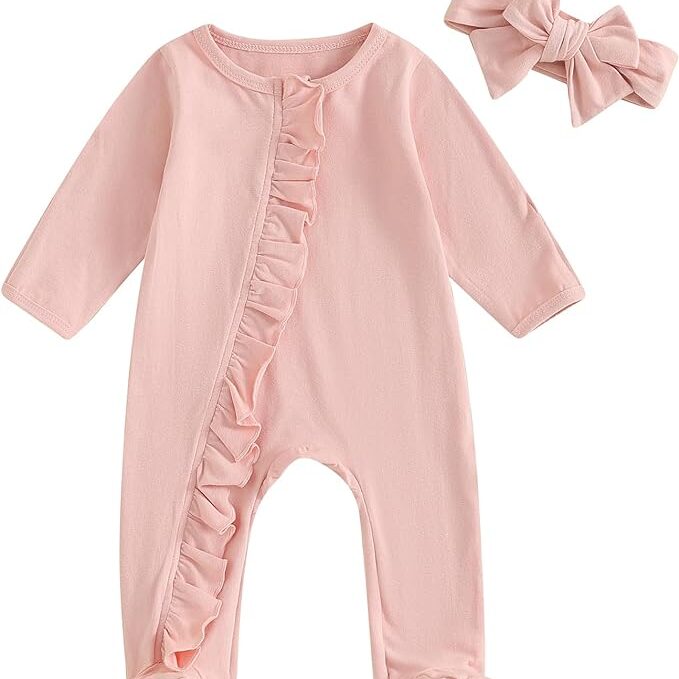
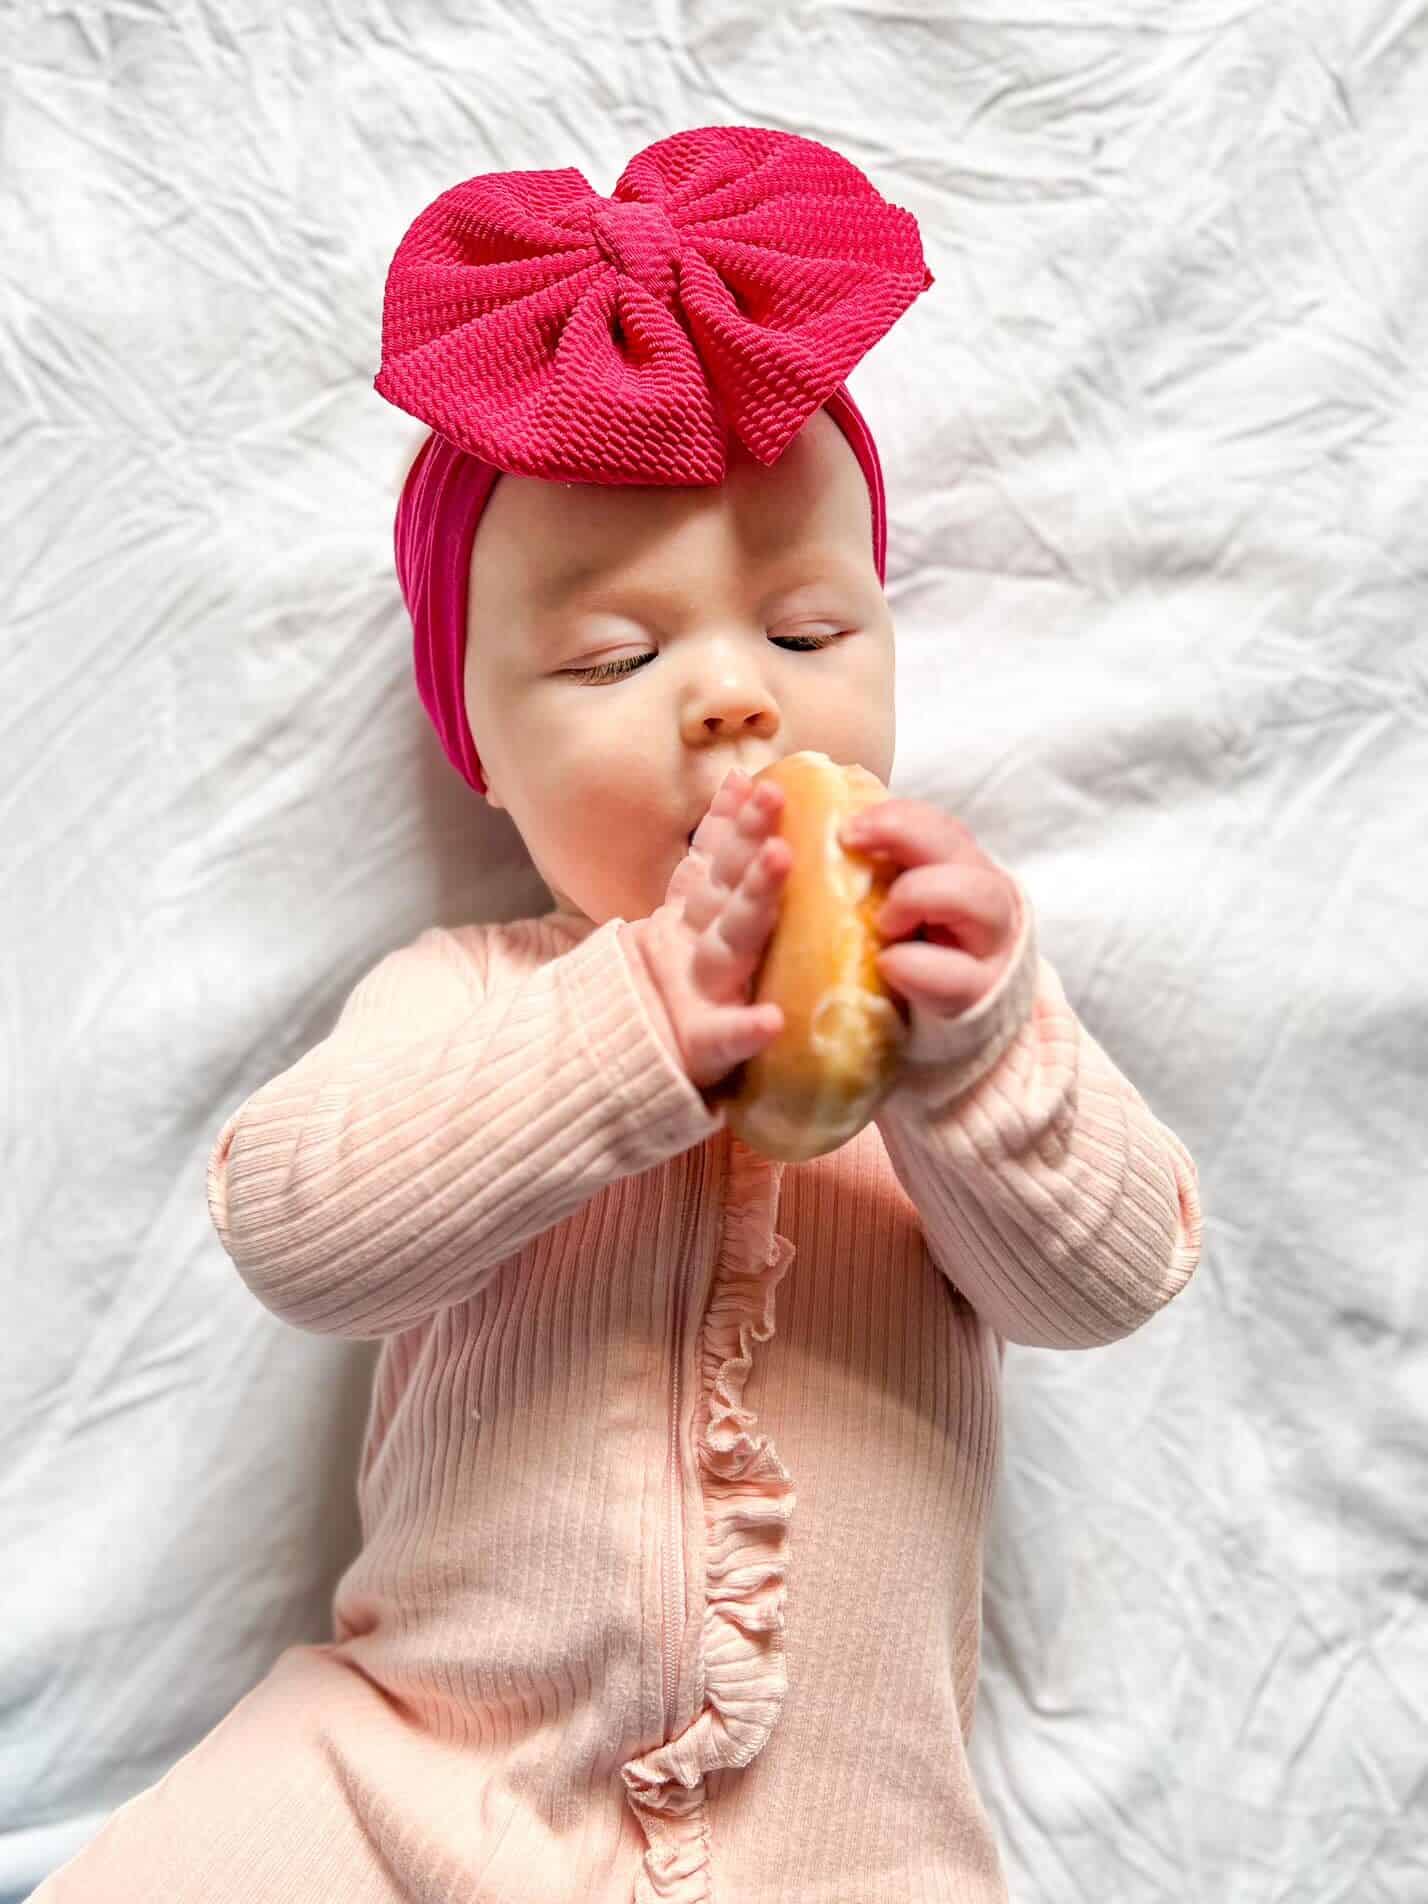
- A cute outfit, we chose her pink ruffled footed sleeper
- A bow or hat, this bow was made by M.K Bowtique
- A white sheet for your background
- Half a dozen donuts
The photos were taken on an iPhone 13, but any of the latest smartphones should provide the same or better quality.
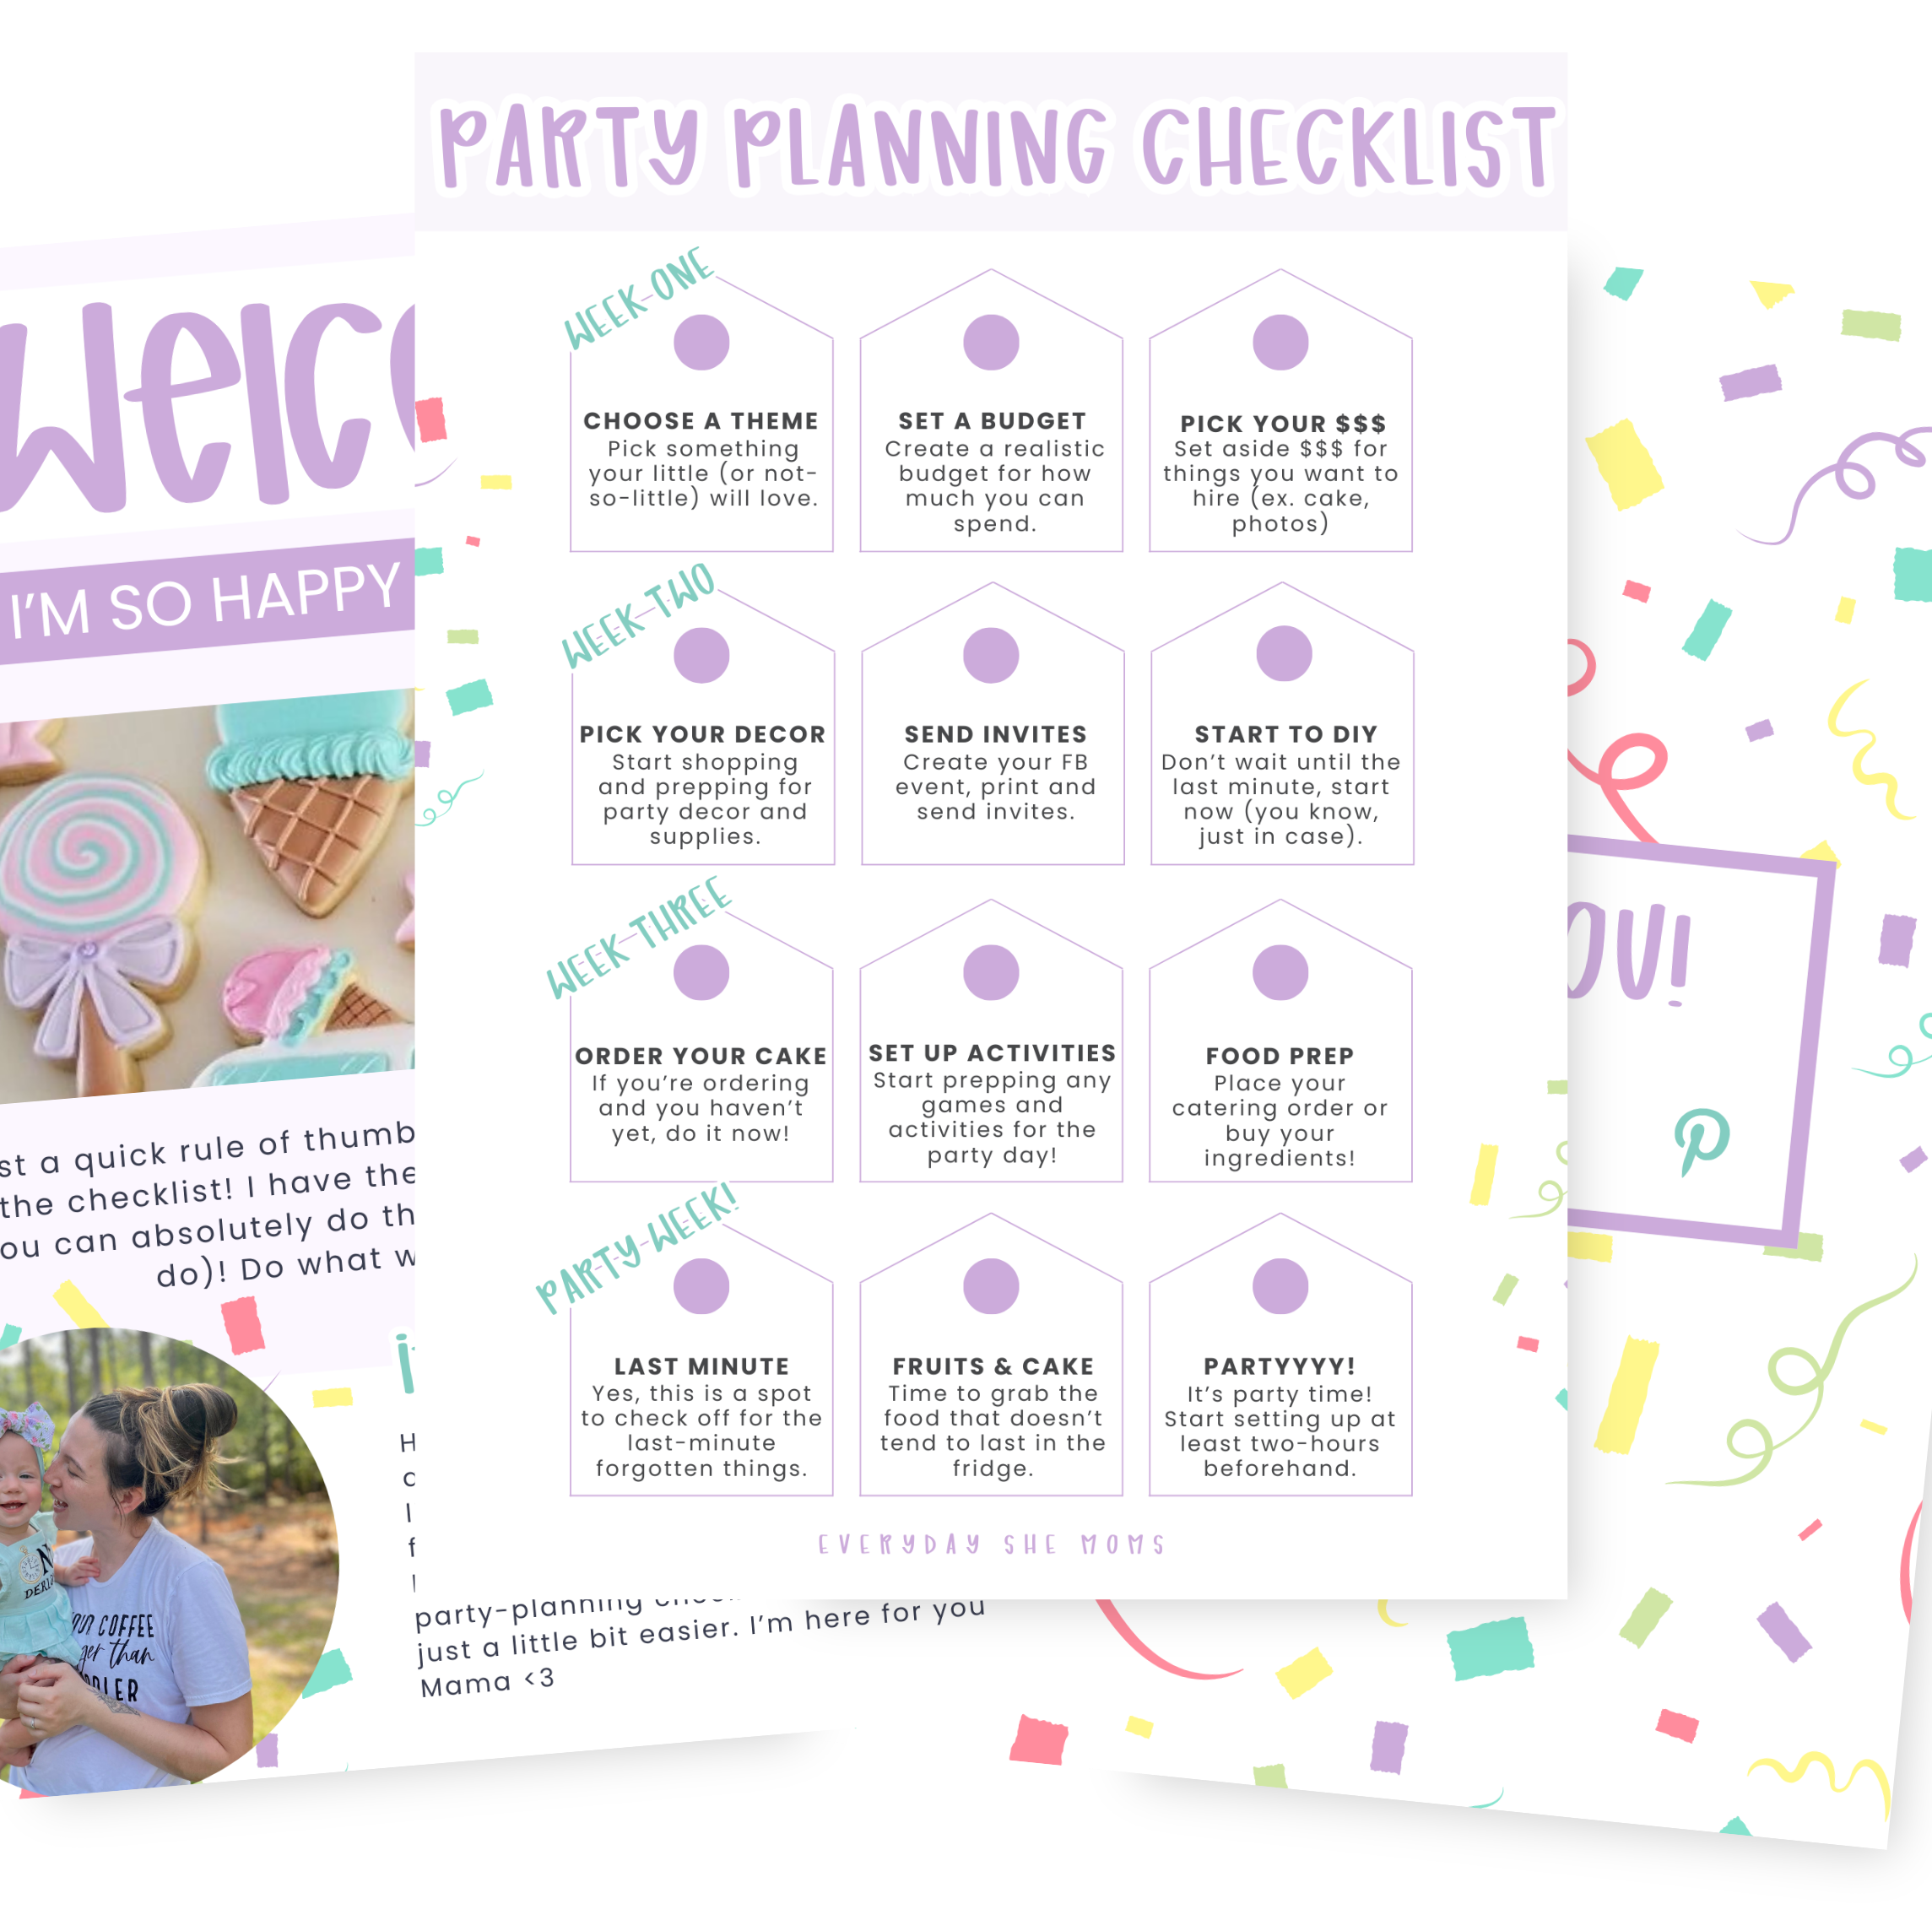
BTW, if you’re already thinking about your little one’s first birthday, grab this birthday party planning checklist for free!
Our DIY Halfway to One Donut Photoshoot at Home
We did a few different setups for our photos. We tried the classic “rainbow” set-up with our donuts and baby girl laying flat, but we also went for a few photos sitting up with the donuts still in the box!
Here’s how our DIY halfway-to-one donut photoshoot went:


And her final look where she’s sitting up with her donuts to celebrate her half-birthday ended up like this:

All in all, the end result was amazing! It was just what we were looking for, and both she and I had so much fun.
It was such a simple thing DIY to do that created sweet memories that I’ll be able to keep forever – and show her later as she grows up!
I can’t wait to start planning for her first birthday party – and maybe even her second birthday too!
What do you think of this DIY? Would you try it? Let us know what you think in the comments below!
