After purchasing one for my middle-child’s first birthday, I figured that creating my own wouldn’t be too hard, hopefully.
Luckily, I was right! Out of all the DIY’s I’ve tackled over the past few years, this was honestly one of the easiest. Honestly, I had more of a struggle attaching it to the high chair than actually creating it, but that applies to all high chair banners, not just the DIY ones.
Anyways, let’s get into what you’re here for: learning how to DIY a high chair banner for your baby’s first (or second, or third) birthday party!
Please Note: This post may contain affiliate links, meaning if you shop via our links I may earn a small percentage at no extra cost to you. All products/recommendations are based on my own personal opinions.
How to DIY a High Chair Banner for Your Baby’s Birthday

I’m gonna toot my own horn for one more minute because this was one of the cutest and last minute birthday DIYs I’ve done!! Just look at it!! And if you want to do one similar in style, here’s what you need:
- Yarn! I used size 4 acrylic yarn that I had on hand in three different colors from the “Big Twist” brand, but any brand will work
- Scrapbook or craft paper, I did a black glitter cardstock and a sheet of feathers scrapbook paper (this was for a “wild one” 1st birthday) I’d had for years in the craft stash.
- A book, think a hardcover one (you’ll need the sturdiness). Oh no, you *might* have to order a brand new one just for this occasion (try this one if you’re into fantasy smut and try this one if you’re more happy romance)
- A Cricut will help, but it’s not a requirement – free-handing the banner is easy, it’s the one you have to worry about. You also don’t need a number, the yarn looks cute as is!
- Glue or tape for the number banner! You’ll need a way to attached the one to the background.
Now that you’ve got everything, set yourself up a cozy spot where you’ll be entertained (I did this post-bedtime for fewer chances of interruption). It’s not hard, but it is time consuming. This way my view for the evening:
Step #1: Pull Out Your Yarn
I wish this had more steps to tell you, but this first step is literally just pulling out the yarn. I put mine tgether to see what colors I wanted to officially use after grabbing more than I needed at Joanns (when they used to exist).
I matched the colors up in the order I saw them in for the actual high chair banner:
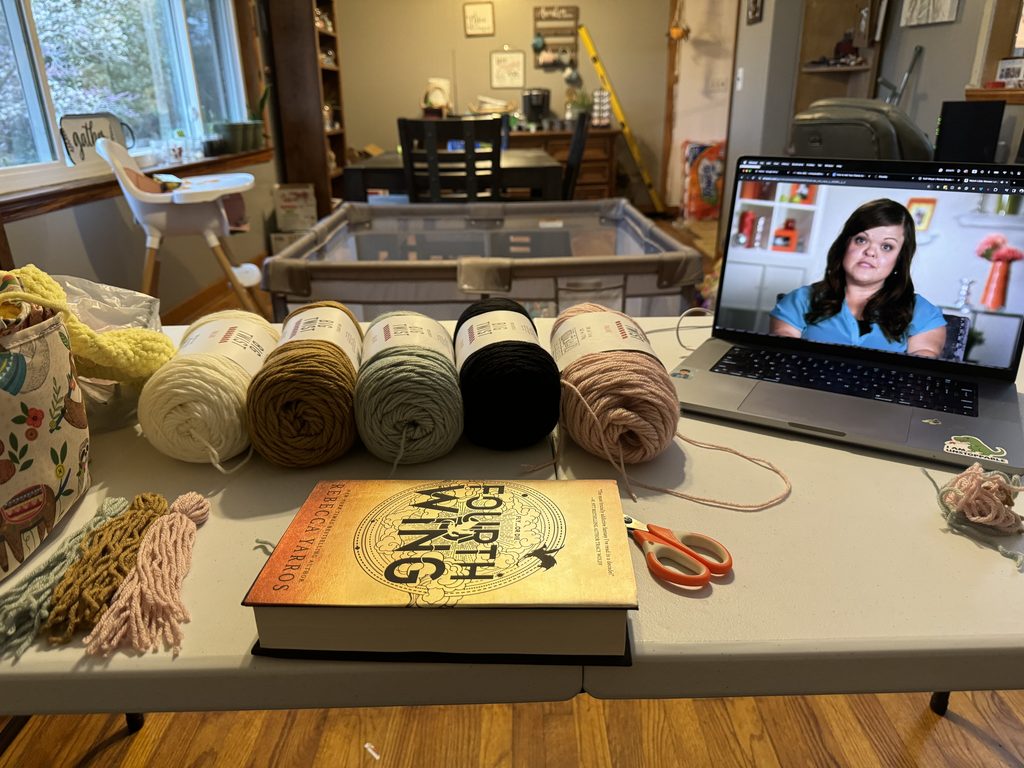
Had my handy copy of Fourth Wing, I turned on Little Women LA, and got to work. I also set up the playpen just in case I had to multitask with baby watch (also, that thing was a lifesaver, get one, I used it alllll the time).
Step #2: Create Your Yarn Tassels
This is where your book comes it! You’ll wrap your yarn around the book ~15 times or until your tassel has the desired thickness. This is what I did:
You can also read through this full “how to make a yarn tassel” step-by-step tutorial!
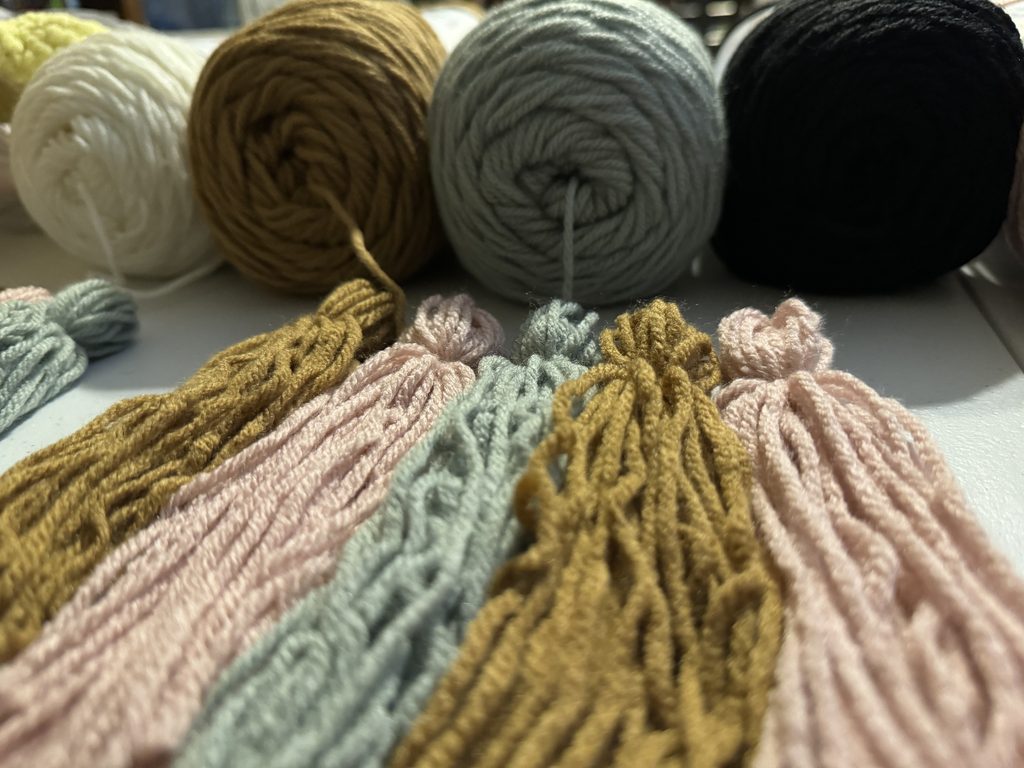
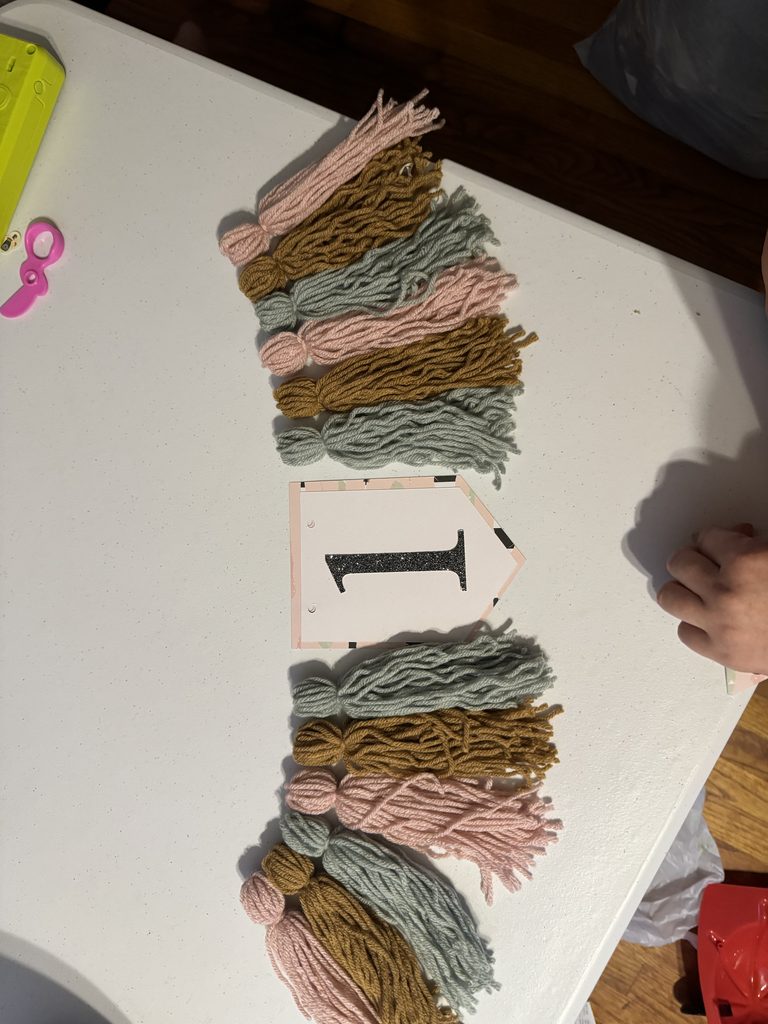
This is what they looked like in the end. I made three of each color and spaced them pretty evenly. You can make however many you want and put them closer, but I don’t recommend doing any less – you’ll have too much space between each tassel and your banner will look empty.
If you’re like me and can’t count, you’ll end up with extras which can come in handy if you mess one up or misplace one before you can put it together on the final string.
Step #3: Create Your #1 Banner (Optional)
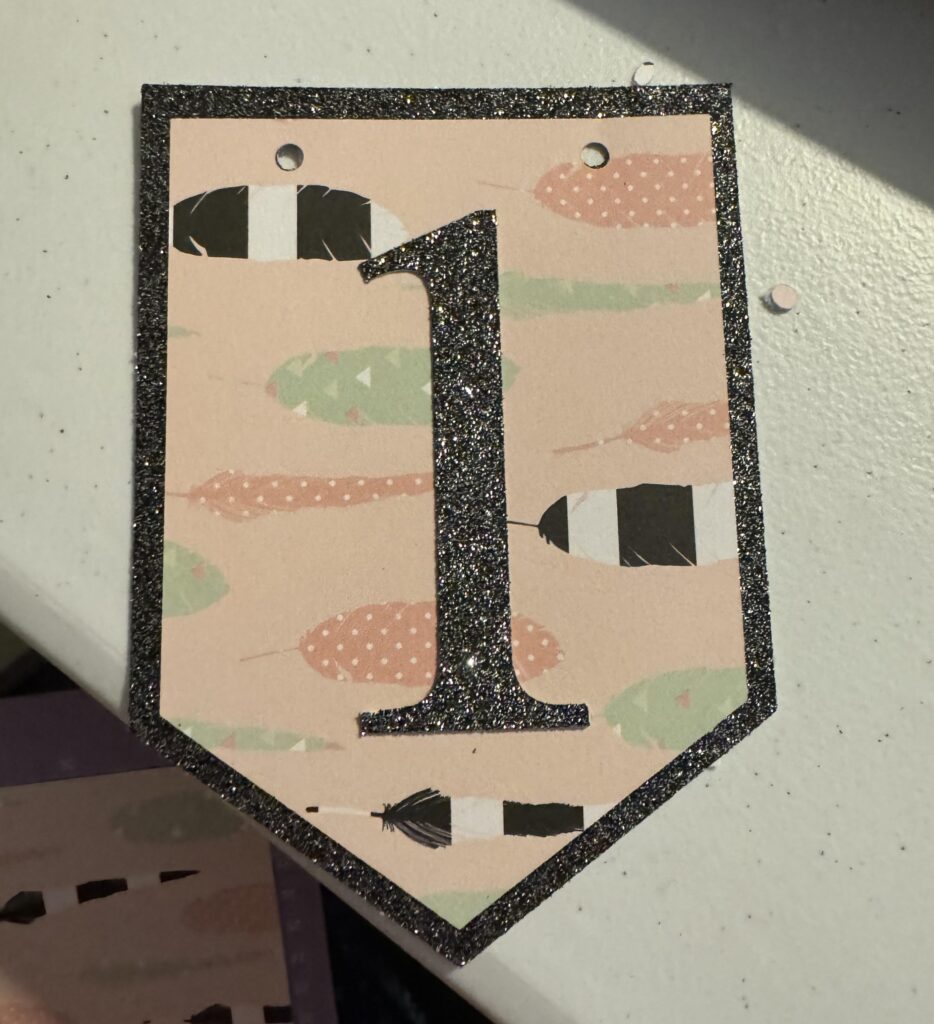
Like I said, this isn’t a requirement – you can just leave it as a yarn tassel high chair banner and call it a day (or night), but if you want to create the number like on my high chair, you’ll need to freehand or pull out the Cricut.
I used this banner shaped template and a generic one from within the Cricut design program and called it a day. I originally had it stacked like the design within the picture, but I misplaced the black glitter background part before I could glue it together:
Step #4: String It All Together!
Choose your most neutral yarn color to string everything on your banner together. I don’t recommend making anything permanent in case you need to adjust the spacing when it’s actually on the high chair. But once you’re done, you should have something that looks at least similar to this:
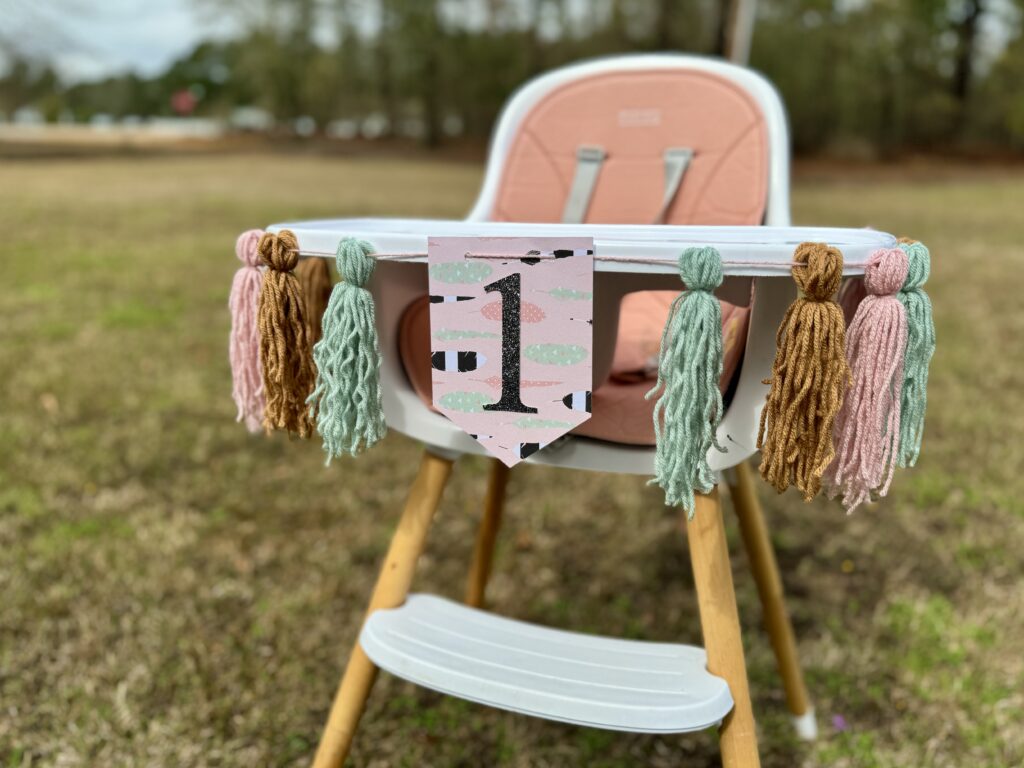
Whatcha think? It turned out great!! And I hope yours turned out just as good and that you didn’t stress yourself out in the process. I feel like the first birthday party is the hardest to plan – because you’ve either never hosted one before, or you’re trying to balance party planning on top of more littles.
Either way, you’re in for an experience (a good one in the end, but still).
And if you want to check out my other DIY from the same party, I created a first year birthday banner (the one with photos from every month!) from the same scrapbook paper and it turned out amazingly – but I definitely relied on the Cricut for that one.
But, until next time!!
Love this Idea? Save it for later!


Leave a Reply