
One of the easiest and potentially most frequently used DIY skills I’ve acquired over the years is the DIY yarn tassel! It’s cute, easy to adapt to whatever you’re creating or whatever the party (or event) is, relatively quick, and requires the most minimal “equipment” to get the work done.
It’s a relatively quick to-do, and I think I’ve broken it down in easy to follow steps – but I’ll guess we’ll see once your tassel is done!
Please Note: This post may contain affiliate links, meaning if you shop via our links I may earn a small percentage at no extra cost to you. All products/recommendations are based on my own personal opinions.
How to Make a Tassel With Yarn
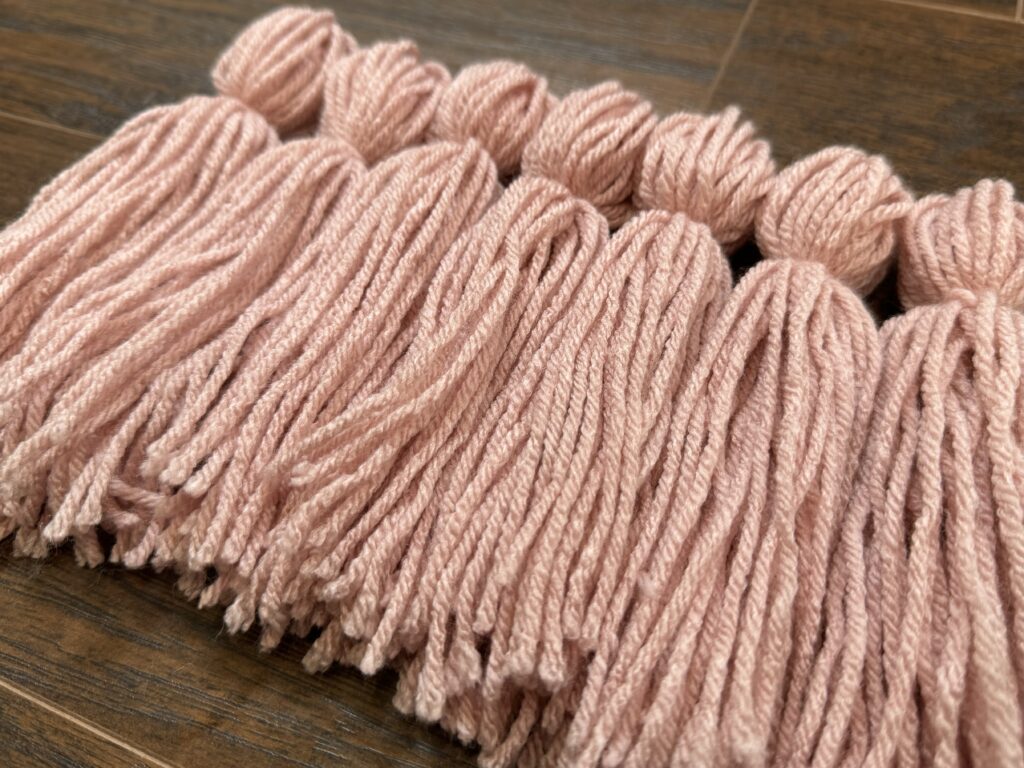
These yarn tassels should work up pretty quick and they’re extremely versatile in what you can use them for – whether it’s a ghost garland (what these pink ones were made for) or a high chair banner at your baby’s birthday.
Whatever you’re making them for, this is what you’re going to need:
- Yarn (of course). I used a size 4 acrylic yarn from the brand Big Twist, but you can use any and follow the same step – just make sure you have enough (you’ll use a good bit).
- Scissors! I have a specific pair I stash for crafting (otherwise they’ll be abducted by the household).
- A hardcover book. Some people like to use cardboard, but a good hardcover book makes it easier (and you might even have to buy a new one), pick a width that’s about the length you want your tassels to be.
And that’s literally all you need.
Step #1: Wrap Your Yarn Around Your Book
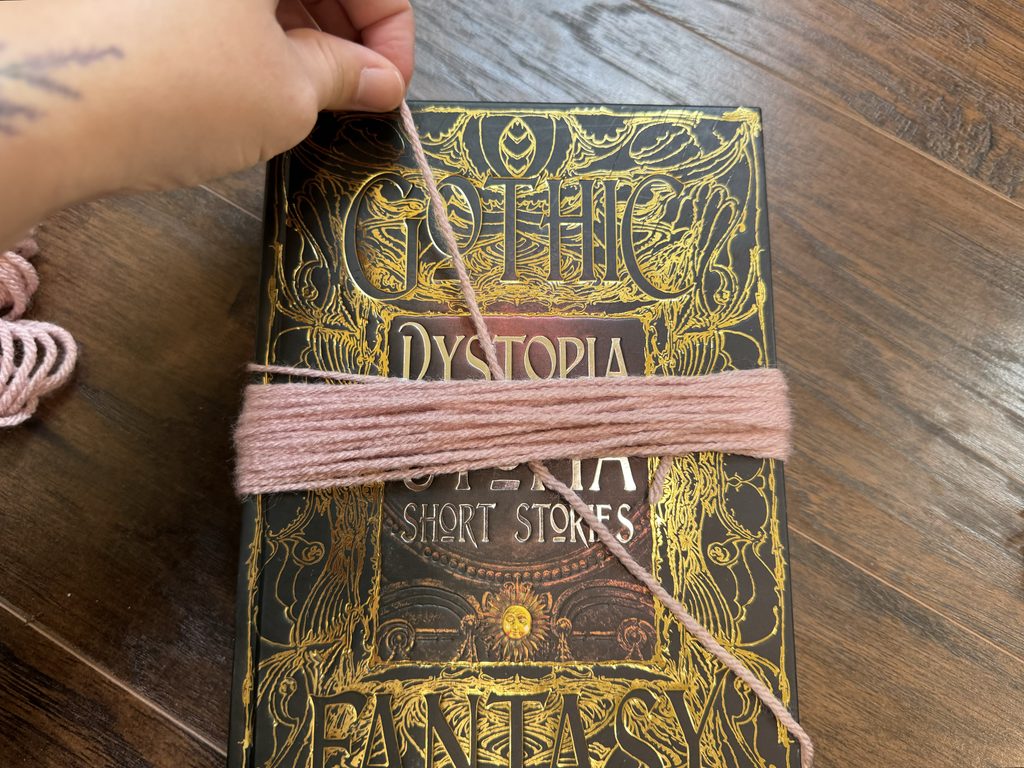
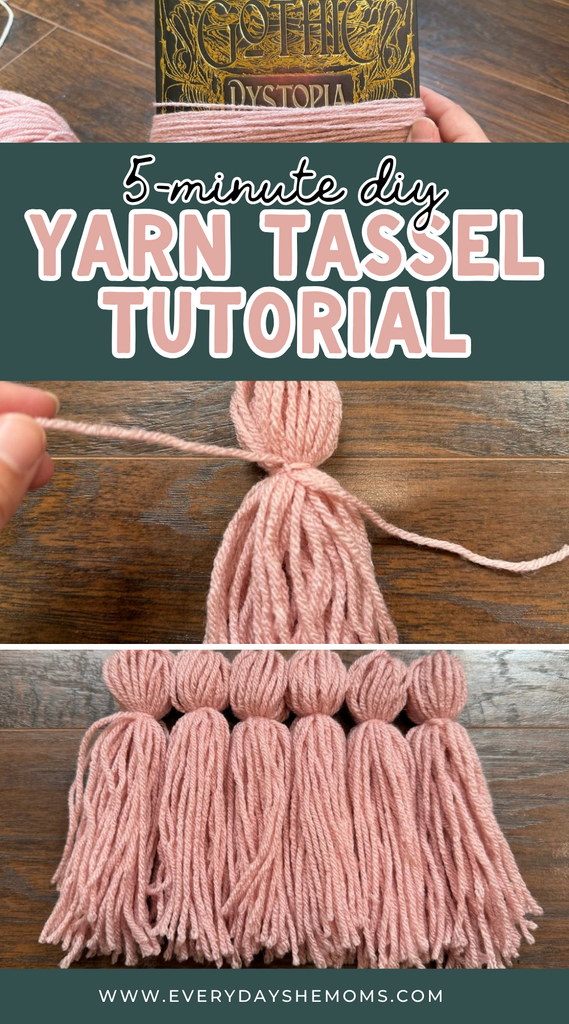
Literally, you’re going to wrap the yarn around the width or short side of your book. The hardest post is starting your wrap – but once you get it going, it’s easy!!
Hold one end of the yarn with your thumb, and you’re going to start wrapping the yarn around book on top of each other, once you wrap it about 2-3 times, you should be able to remove your thumb. If you can’t, you need to restart and wrap it tighter and closer to your starting place.
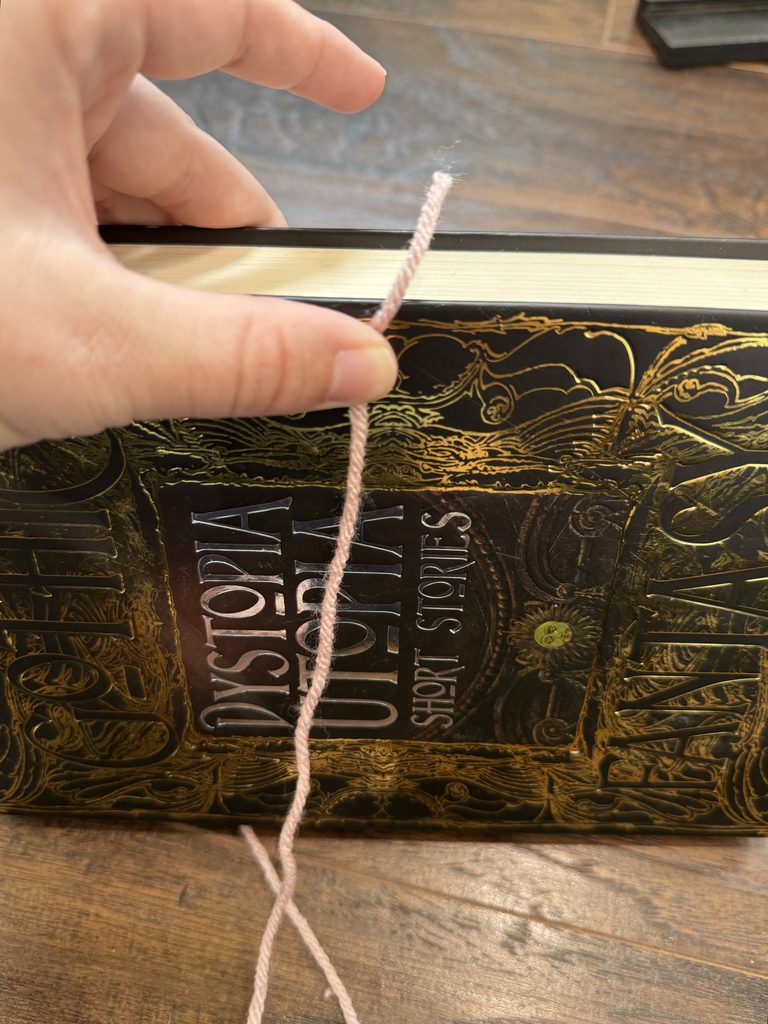
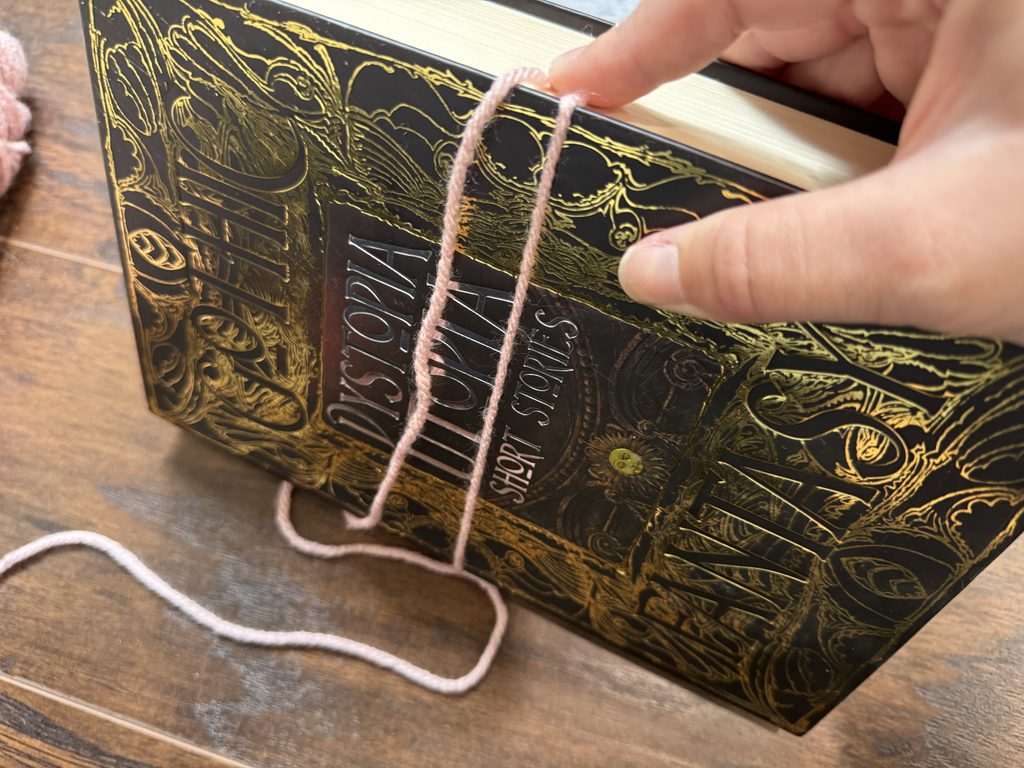
In total, you’re going to wrap your yarn around however many times to create the thickness of the tassel you want. This depends on what you want to use it for, the look you’re going for, and the yarn you’re using. For the size 4 acrylic yarn, I wrapped each one 15 times (we’re going to cut this in half, so in all, 20 wraps create 40 strands of yarn in the tassel).
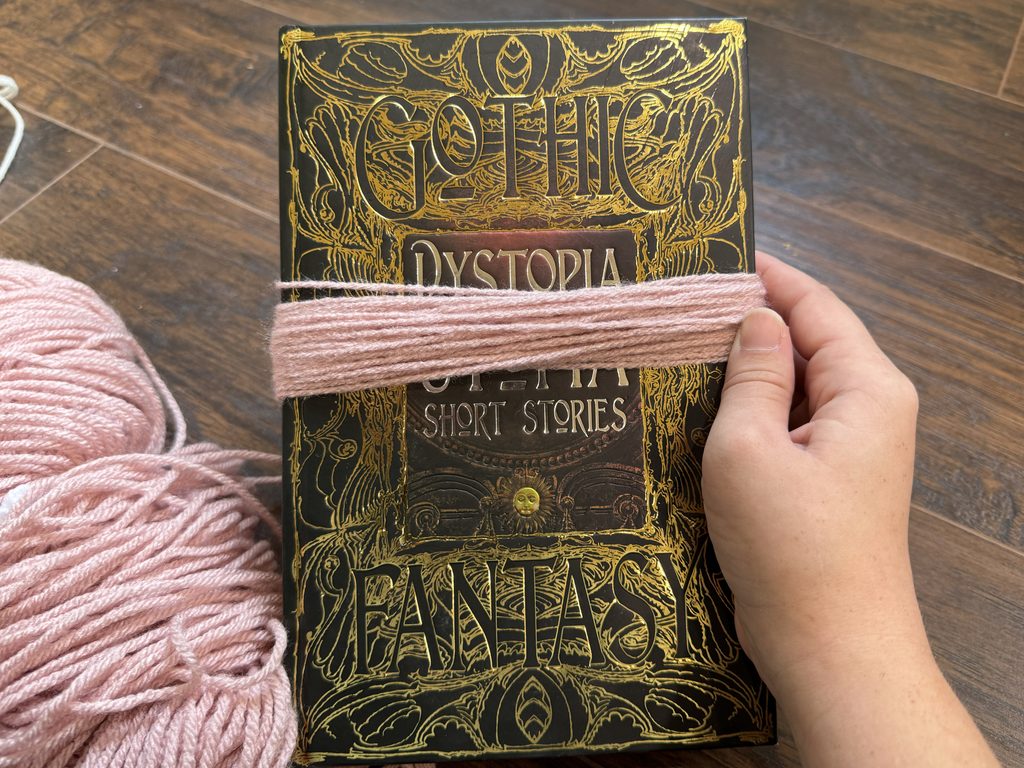
Step #2: Tie Off Your Tassel
Next, you’re going to tie off your yarn tassel. The reason I love using hardcover books is because you can slip the yarn you’re going to tie off your tassel with (a strip of about 8-10 inches) under the gap that’s created between the book sides and the pages.
Then you’re going to slide your yarn under whats wrapped to the book’s side (the one without the pages) to tie the knot:
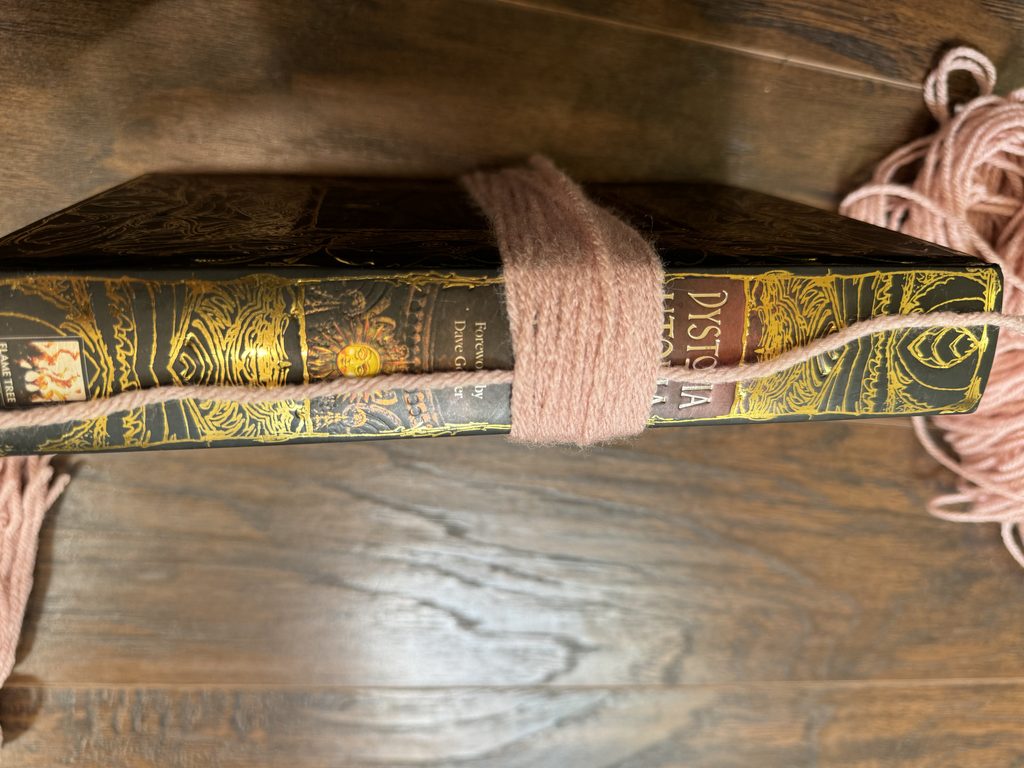
Then you’re going to tie a double knot to hold everything together. You want this to be tight so nothing comes apart. This will also be hidden at the end!
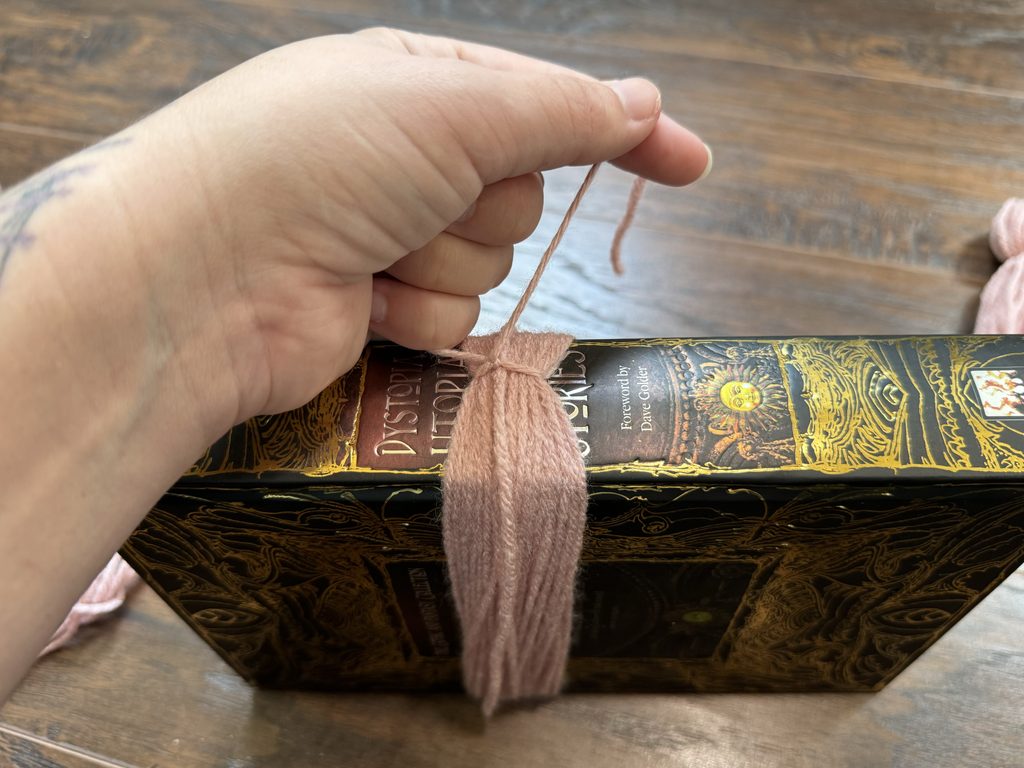
Step #3: Cut Your Tassel
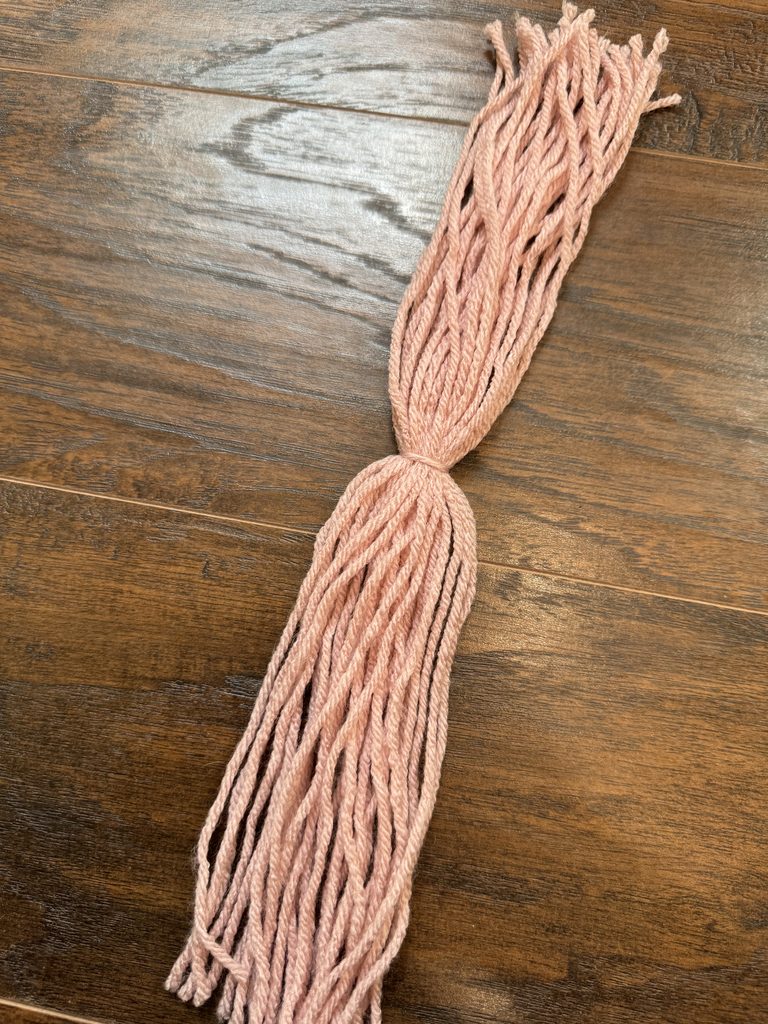
Your next step is the quickest: cutting the non-tied end of your tassel. You’re just gonna take your scissors, aim for the middle, and snip it! You’ll end up with something that looks like this:
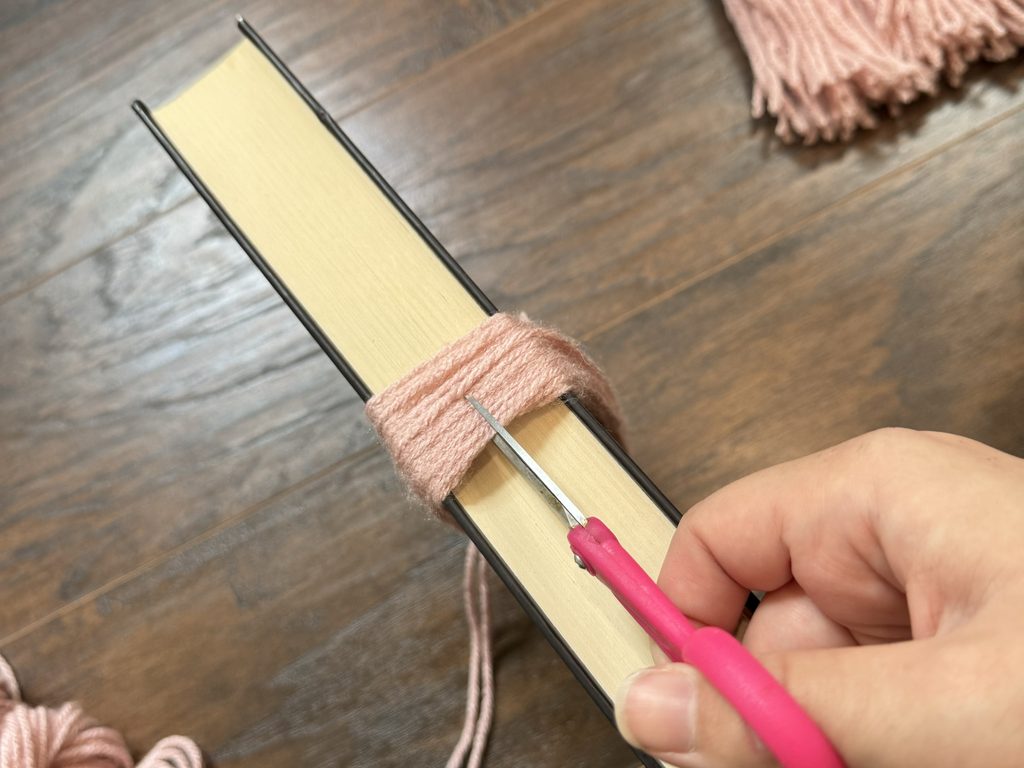
Step #4: Create Your Yarn Tassel
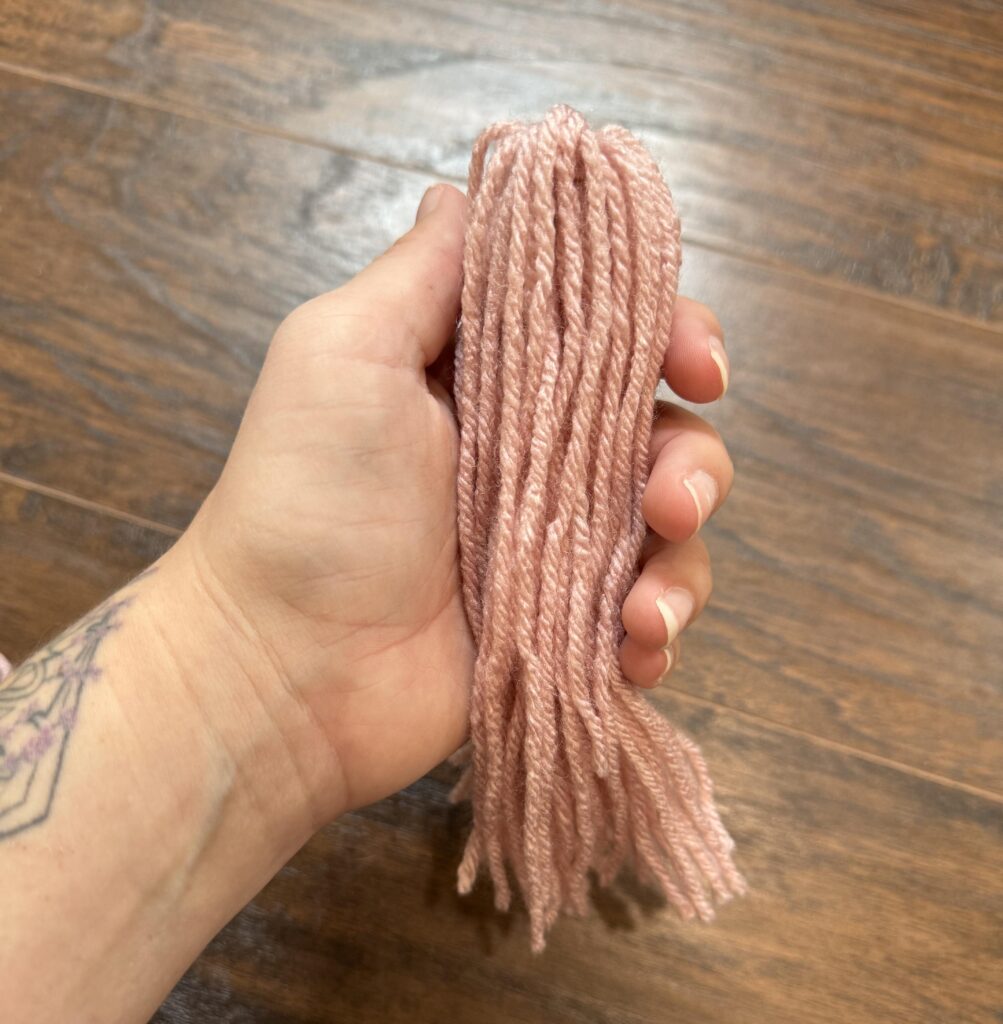
You’re like 90% of the way there and this step is going to finish it off! First, you’re going to do your yarn in what I like to say the “cousin it” style (you know, from the Addams Family!). You’re making a waterfall-esque with the yarn by holding onto one side, right under where it’s tied off and letting the top side fall over liked hair.
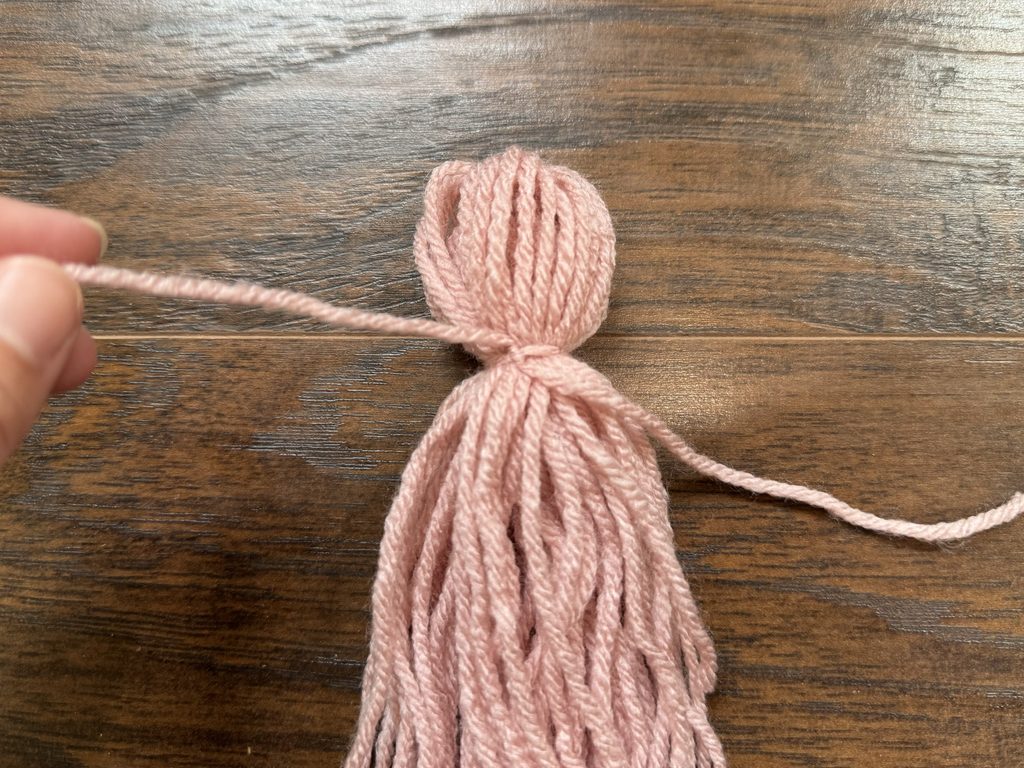
Then you’re going to cut a short piece of yarn (maybe 3-4 inches, depends on how thick your tassel and yarn are) and you’re going to wrap and tie off your tassel-top about an inch to an inch and a half from the top of your tassel.
Just do a double knot, it’s easy to tuck in and blend in with the tassel when you’re done!
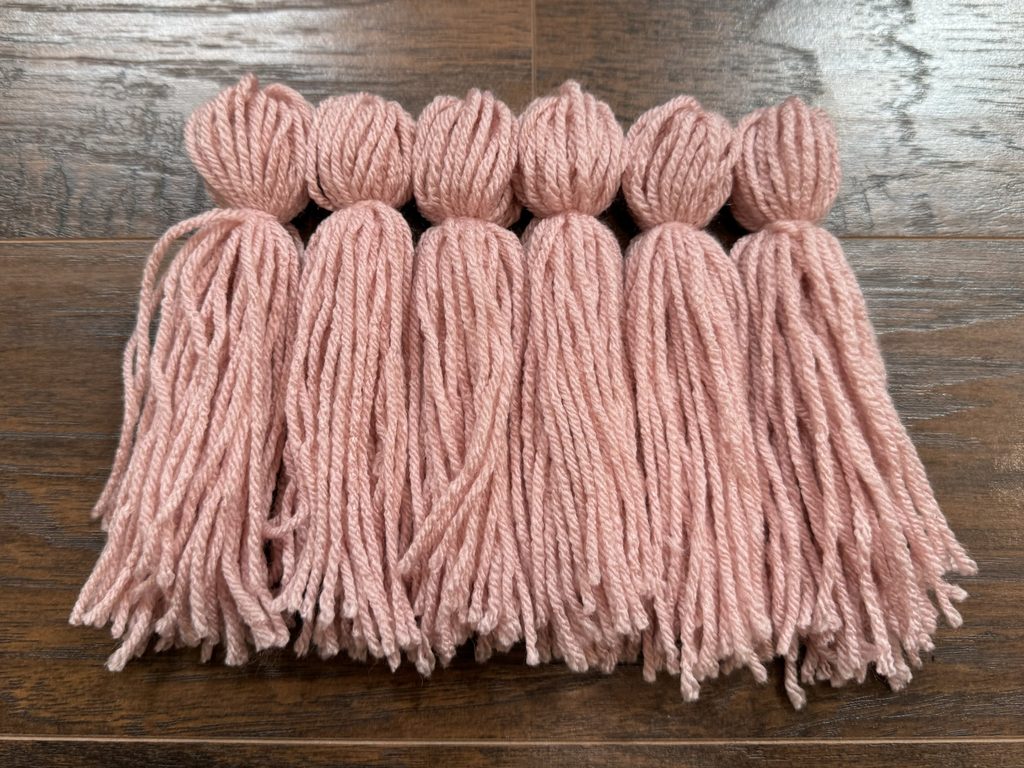
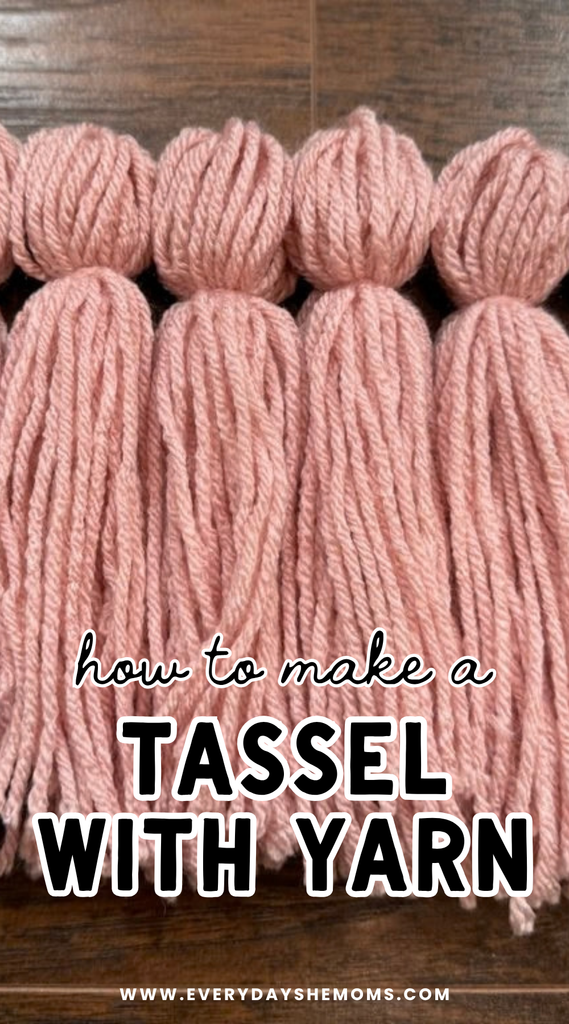
And repeat to create the rest of them! I like to turn on a show and do them in one batch, just makes it easier with the repetition. But you should end up with a few like this! If they seem a little uneven, you can line them up and trim the bottoms for a more consistent length.
What Are You Creating With Your Yarn Tassel?
Now that you’re done, I’m very curious what you’re creating! I’d love to hear about it in the comments below!! I always need new craft ideas to occupy my free time lol.
But, also, I hope this yarn tassel tutorial was exactly what you were looking for! I was trying my best to grab step-by-steps throughout the process so you can visually see what’s happening and when to create your own.
And if you’re looking for more DIY ideas, I highly recommend trying this DIY Yarn Wall / Yarn Peg Board if you’re starting to build up a stash – or this super easy Cookie Sheet magnetic board if you’re looking for something for toddlers to be entertained with.
Until next time!
x Mckayla
Love this Post? Save it for Later!


Leave a Reply