
Not too long ago, my sister-in-law reached out with a fun project for our nephew, who is only one year older than our own son — this deep blue DIY twin over full clubhouse-style bunk bed.
While they wanted a bed for him, they also wanted to free up space by adding extra storage to his room in their house full of kids. So, Aust focused on making sure there was plenty of shelving, drawers, and nooks to keep all his dinosaurs and books and store his clothes and blankets out of the way.
We learned a lot during this project and ended up buying a good number of new tools (and adding more to our “want” list), but overall, everyone is satisfied with how it turned out — and no one had to pay $1,300 to buy one on Amazon or Wayfair.
Overall, we spent around $500 on supplies and another $300 on tools for the project. However, we could have completed the project without buying the additional tools; they just made it a little bit easier. They will be used for Aust’s future woodworking projects related to his business — and the bunkbed request that he received right after this one.
Now, let’s get into it:
Making the DIY Bunkbed: Tools & Supplies

Obviously, this picture is NOT the full amount of wood purchased for this project; it’s just our first load that we got to build the base of the bed. We took a few more trips as different ideas came to Aust and his sister on how best to place storage, sizing, and where we should reinforce should a toddler start jumping on it. We utilized a lot of metal brackets to make corners sturdier and more toddler-resistant.
I also asked Aust which tools he felt were the most useful when it came to building the bunk bed; here’s what he told me:
- Kreg Pocket Hole Jig
- Dewalt Miter Saw
- Dewalt Table Saw
- Dewalt Drill Set
- Clamps
- Dewalt Circular Saw
- Brad Nailer
- Speed Square
We owned most of the big stuff thanks to previous projects like our 1960s den remodel and our DIY Pallet wall TV Mount making it less of a huge investment for us in that aspect.
How to Build The DIY Twin Over Full Clubhouse Bunk Bed
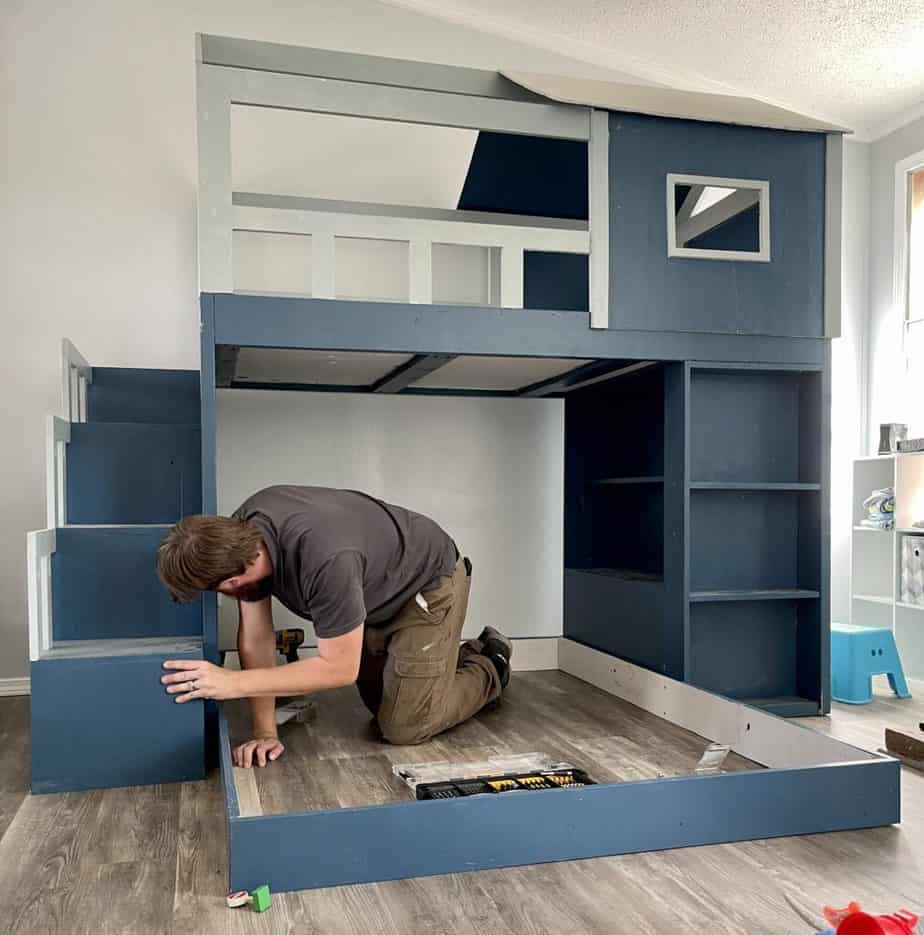
Most of the beginning was very easy, with a lot of framing and putting together the base of the actual bed vs. doing anything cool or fancy for the clubhouse. We started with building the frame and stairs, then moved on to building the top frames and adding railings – which received a little help from our son.
A major concern during this time was ensuring that screws were placed in easy-to-access locations (with that pocket hole jig, of course) so that it could be easily removed when moving into the actual house.
During this time, he also used the clamps to “map out” where the wood would go and held the stairs together until he was ready to permanently nail them. This first time, we also realized the struggle of working on a very uneven surface, aka the cement pad of our old home’s carport.


The next steps included painting a base coat of Kilz onto the bed frame (another form of toddler protection) as a primer before adding the final colors. We mainly let Aust’s other sister and our niece handle the painting — a task neither Aust nor I am very fond of.
Once we finished that part, it really looked like it was starting to come together. Aust could finish out the full-size bed frame, start working on the dresser for the bottom, and, of course, eventually move to create the actual clubhouse on the top bunk.


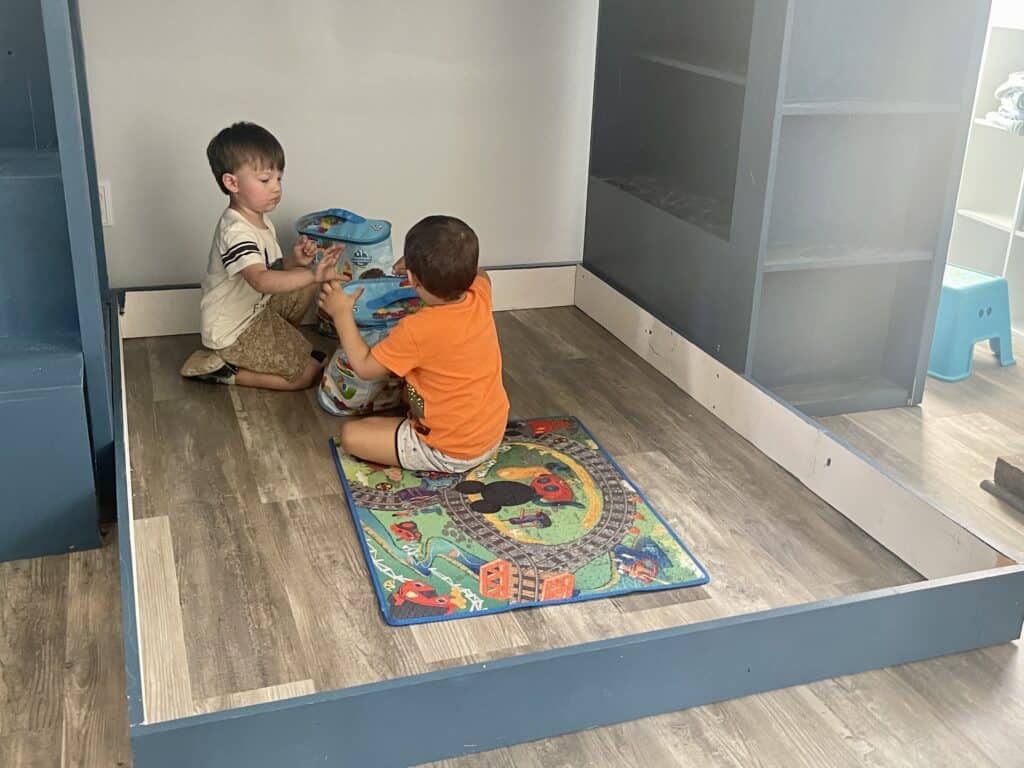
I’m taking a brief break here to show off my boy and how much he really enjoyed playing on his cousin’s bunk bed.
After watching my son climb and play on the clubhouse bunk bed in the making, we decided to create one for his birthday this summer. I’m thinking of painting it red. He’s a huge fan of Pixar Cars, so I feel a red would be very “Lightning McQueen.”


Sadly, I didn’t get any good pictures of the actual dresser with the drawers — instead, I only took pictures of the side of the dresser with the bookcases, which I think turned out really well.
We ended up making the drawers shorter to have this bookcase on the inside of the bottom bunk and created a shallower bookcase facing outward (which my nephew immediately used for Dinosaurs).
I also grabbed a close up of the framing for the clubhouse portion of the bunk bed — and you can see it in the background of the third picture fully painted.


The Completed Twin Over Full Clubhouse Bunk Bed!
After three weeks of hard work and back and’ forth between Aust and his sister, we finally completed the bunk bed and drove the hour to go install it in their home. It took them a little while to put the bunk bed up thanks to a few door size problems (which made us deconstruct more than expected), but overall there were very few issues.
Both the boys started playing in it pretty immediately after we stopped playing outside and eventually filled up the bookcases with toys.
I wasn’t sure about the blues, but I do think it ended up looking good in the space — and technically, he picked it out, and it was gonna be his bed… So, 10/10 loved it, and they did too! I’m honestly so excited to make one for my boy this Summer!

If you loved this project, don’t forget to check us out and subscribe to my YouTube channel, Everyday She Moms; we’ll be sharing more DIYs and videos as time goes on!!
What do you think of the bunk bed? I’d love to hear your thoughts in the comments down below!
Love this Post? Don’t Forget to Pin it!


Leave a Reply